Language
 English
 русский
 Español
 عربى
عربى Phone
Phone
 Email
Email
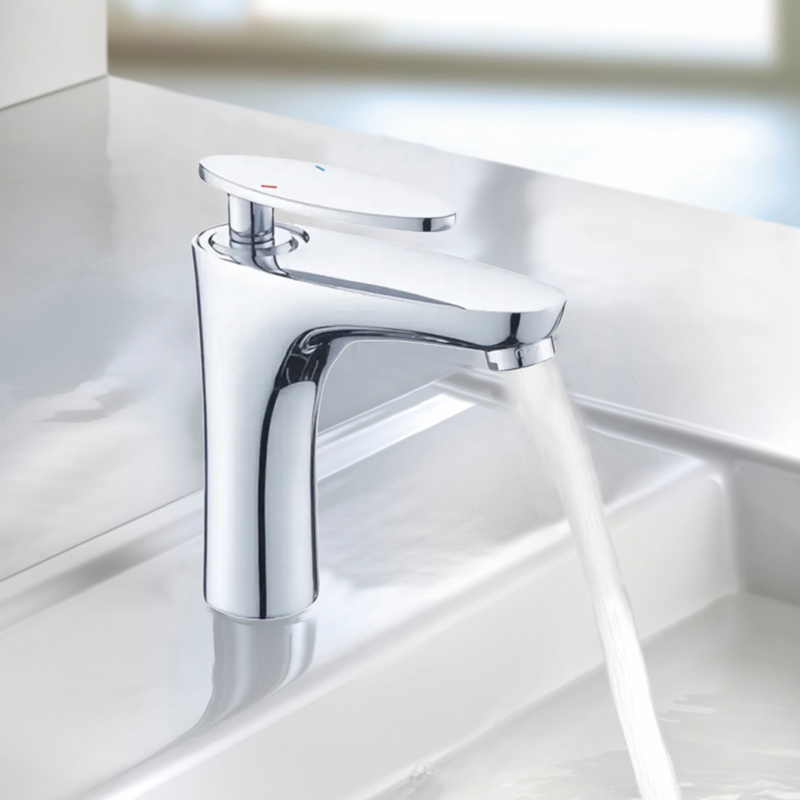
Installing a bathroom mixer faucet can seem like a challenging task for many homeowners. However, with proper guidance, preparation, and the right tools, the process can be straightforward and stress-free. At JiCheng, a professional basin mixer faucet factory and bathroom mixer faucet manufacturer, we design our faucets to simplify installation while maintaining high quality and durability.
Preparation Before Installation
Proper preparation is the key to a successful faucet installation. Here are the essential steps you should take before you start:
Gather Necessary Tools
Make sure you have all the tools ready, including:
Adjustable wrench
Basin wrench
Screwdriver
Plumber’s tape (Teflon tape)
Bucket or container for residual water
Having all tools prepared beforehand can save time and prevent unnecessary frustration during installation.
Turn Off Water Supply
Before removing your old faucet or installing a new one, it is critical to shut off both hot and cold water supplies. This prevents water leaks and potential damage to your bathroom. If your valves are old or corroded, consider replacing them for a secure and leak-free connection.
Read Manufacturer Instructions
Even though installation is straightforward, reading the instructions from your bathroom mixer faucet manufacturer is essential. JiCheng provides detailed step-by-step installation guides with diagrams, ensuring compatibility with standard plumbing systems and avoiding common mistakes.
Step-by-Step Installation Guide
1. Remove Old Faucet
Disconnect water supply lines using a wrench.
Loosen mounting nuts beneath the sink and carefully lift out the old faucet.
Clean the sink surface to remove old sealant or debris.
2. Prepare New Faucet
Apply plumber’s tape to threaded connections for a watertight seal.
Assemble mounting hardware as instructed by the manufacturer.
3. Position the Faucet
Place the new faucet onto the sink holes, ensuring it is centered and aligned.
Tighten the mounting nuts beneath the sink gradually, checking that the faucet remains stable.
4. Connect Water Supply Lines
Attach the flexible water supply hoses to the faucet’s inlet valves.
Ensure hot and cold lines are connected correctly.
Use a wrench to tighten connections, but avoid over-tightening to prevent damage.
5. Test for Leaks
Slowly turn on the water supply.
Check all connections for leaks.
Run both hot and cold water to ensure smooth operation and proper flow.
Tips to Simplify Installation
Here are some additional tips from JiCheng to make installation easier:
Work with a helper: Having another person hold the faucet in place while you tighten the mounting nuts can make installation smoother.
Use a basin wrench: This tool is especially helpful for tight spaces under the sink.
Keep a towel handy: Small drips or spills can occur, and a towel will help keep the area dry.
Install an aerator: Many JiCheng faucets come with pre-installed aerators that help control water flow and reduce splashing.
Maintenance After Installation
Installing your faucet correctly is only the first step. Proper maintenance will ensure long-lasting performance:
Regular Cleaning: Wipe the faucet with a soft cloth to prevent water stains and mineral deposits.
Avoid Harsh Chemicals: Do not use abrasive cleaners or bleach-based products, which may damage the finish.
Check for Loose Connections: Periodically inspect the mounting hardware and supply connections for signs of loosening.
Installing a bathroom mixer faucet does not need to be complicated. By following these step-by-step instructions and tips, you can achieve a professional-quality installation on your own. Always remember to prepare thoroughly, read the manufacturer’s guidelines, and test for leaks after installation. With faucets from JiCheng, you get products designed for durability, style, and ease of use, giving you confidence in both performance and long-term reliability.