Language
 English
 русский
 Español
 عربى
عربى Phone
Phone
 Email
Email
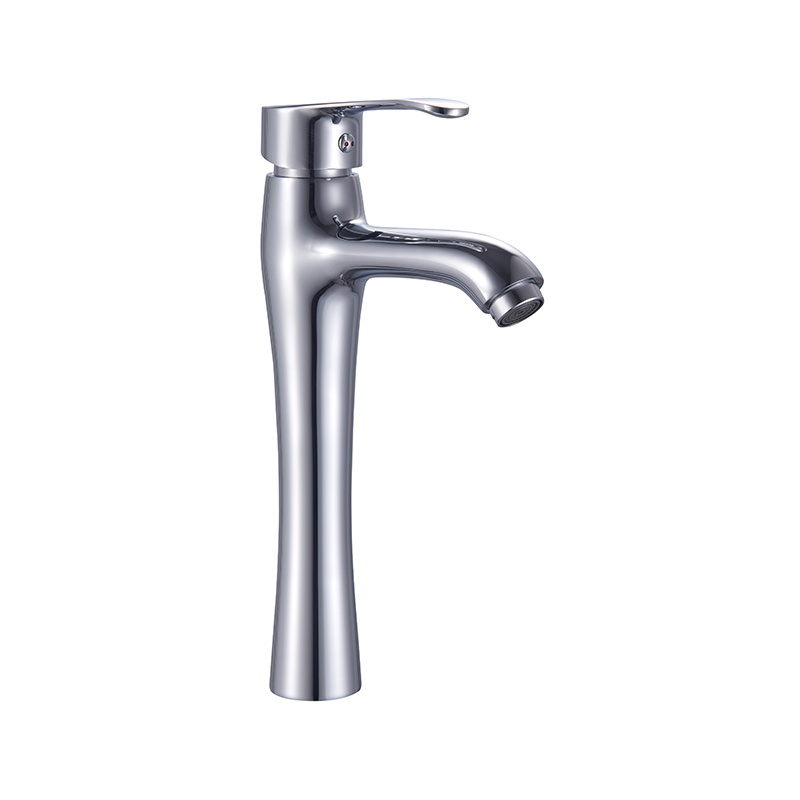
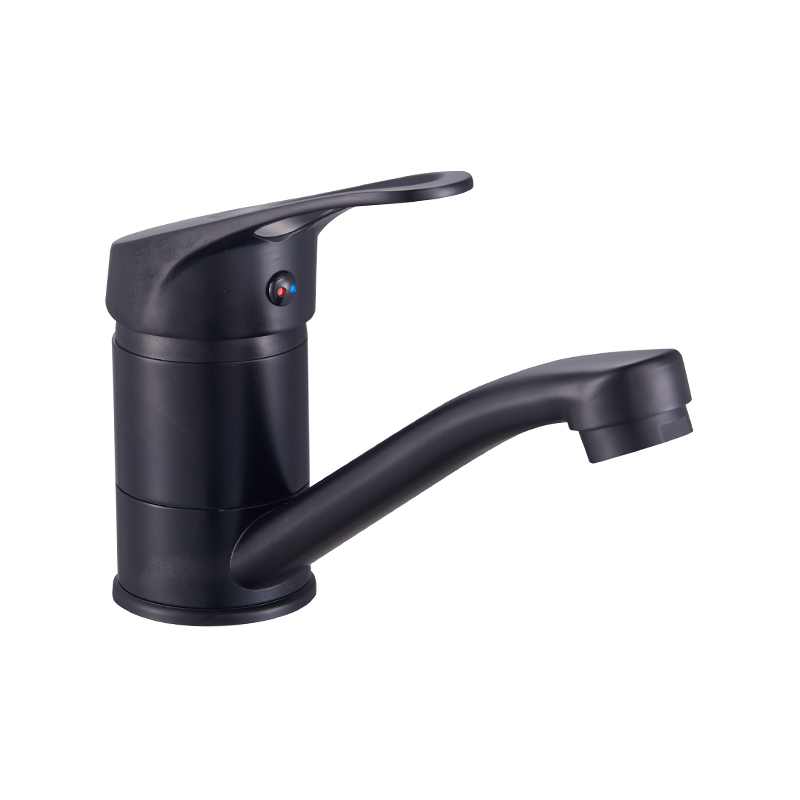
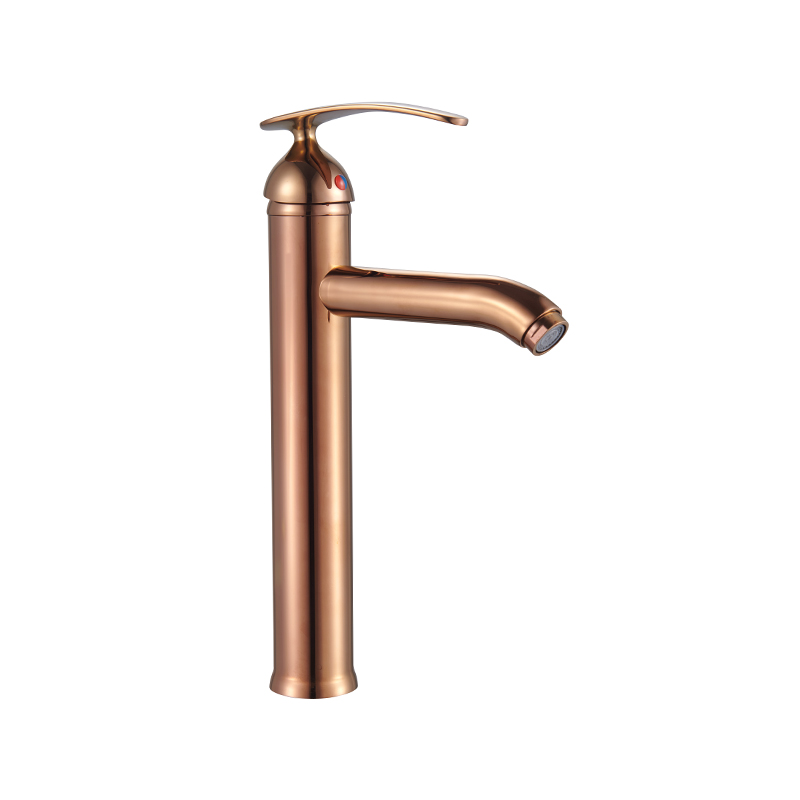
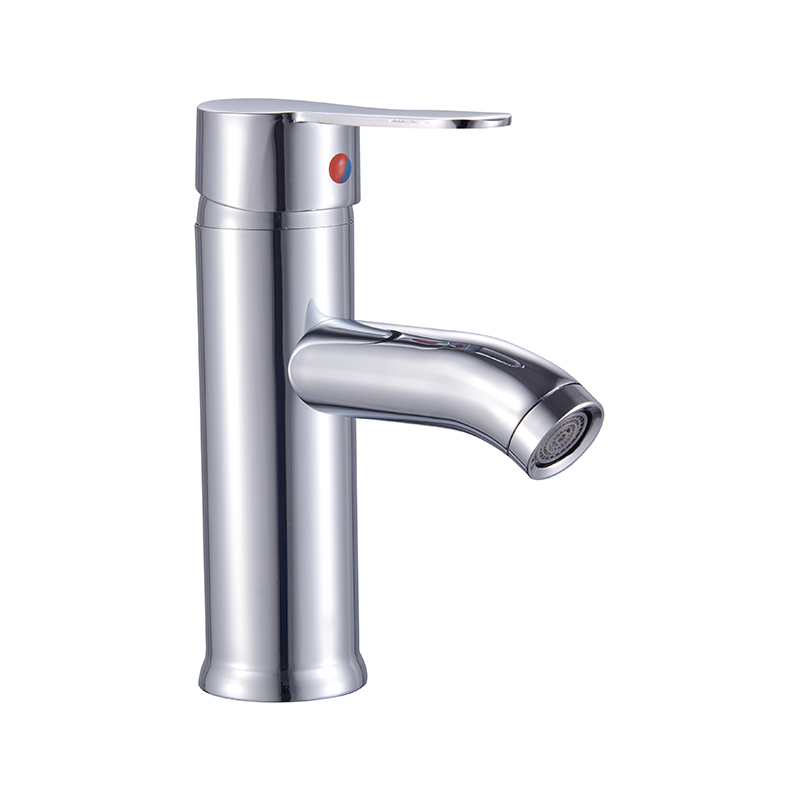
The excitement of a sleek, new faucet can quickly turn to frustration. You’ve just finished installing a modern Single Lever Mixer, envisioning a clutter-free countertop and effortless one-handed control. But instead of a clean shut-off, you are met with a persistent drip or, worse, a puddle forming around the base. This is a common complaint among DIY enthusiasts and homeowners. While Double Handle Mixers have their own set of potential issues, the cartridge-based mechanism of a single-lever model is often highly sensitive to installation errors.
Before you call a plumber or blame the product, understand that the problem is frequently not a manufacturing defect but a minor oversight during fitting. At Zhejiang Jicheng Technology Co., Ltd., we design our mixers for durability and ease of use, but correct installation is key to a leak-free experience.
1. The Misaligned Cartridge
The heart of any Single Lever Mixer is its cartridge—a precision component that controls the mixing of hot and cold water. When installing a new mixer, if this cartridge is not perfectly seated in the body, or if its alignment tabs are not correctly engaged, the water will bypass the seals. This often results in water leaking from under the lever itself.
The Fix: You must disassemble the handle to access the cartridge. Once exposed, lift the cartridge out, check the chamber for any debris, and reinsert it carefully. It should drop in easily and sit flush. more cartridges have small lugs that must line up with notches inside the faucet body. Forcing it down when misaligned is a primary cause of post-installation drips.
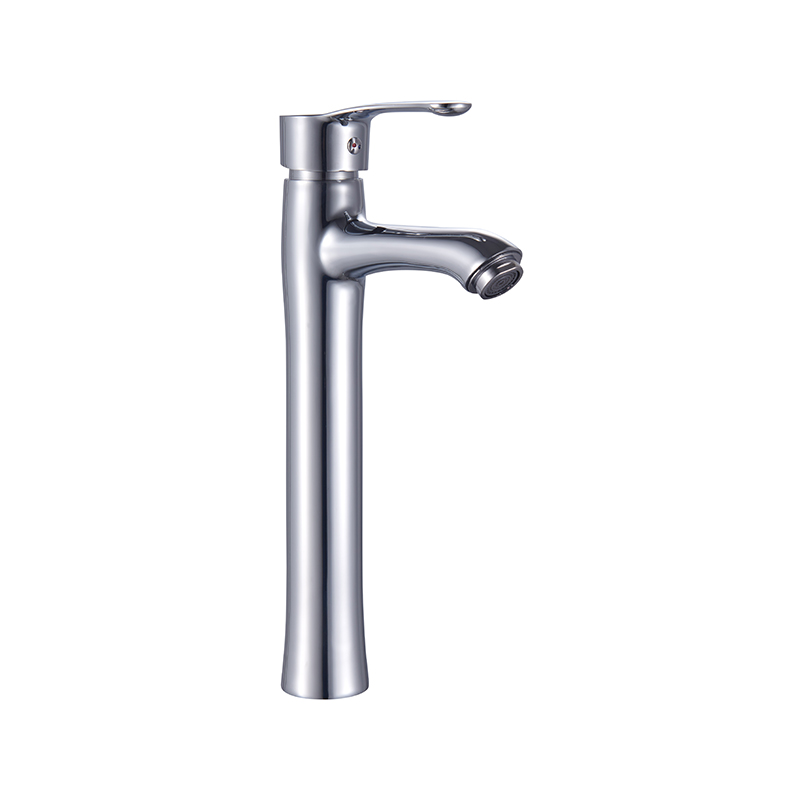
2. Overtightening the Retaining Nut
It is an instinct to tighten everything as much as possible to prevent leaks. However, this can backfire. Beneath the decorative shroud of a Single Lever Mixer, a large retaining nut holds the cartridge in place. If this nut is overtightened with a wrench, it can warp the cartridge housing or crack the internal seals, immediately causing a leak.
The Fix: This nut only needs to be "snugged down" firmly by hand, then given a very gentle final nip with a tool. If you suspect overtightening, loosen the nut slightly and check for signs of stress on the cartridge. Lubricating the threads and the top of the cartridge with a touch of silicone grease can also help it seat properly without excessive force.
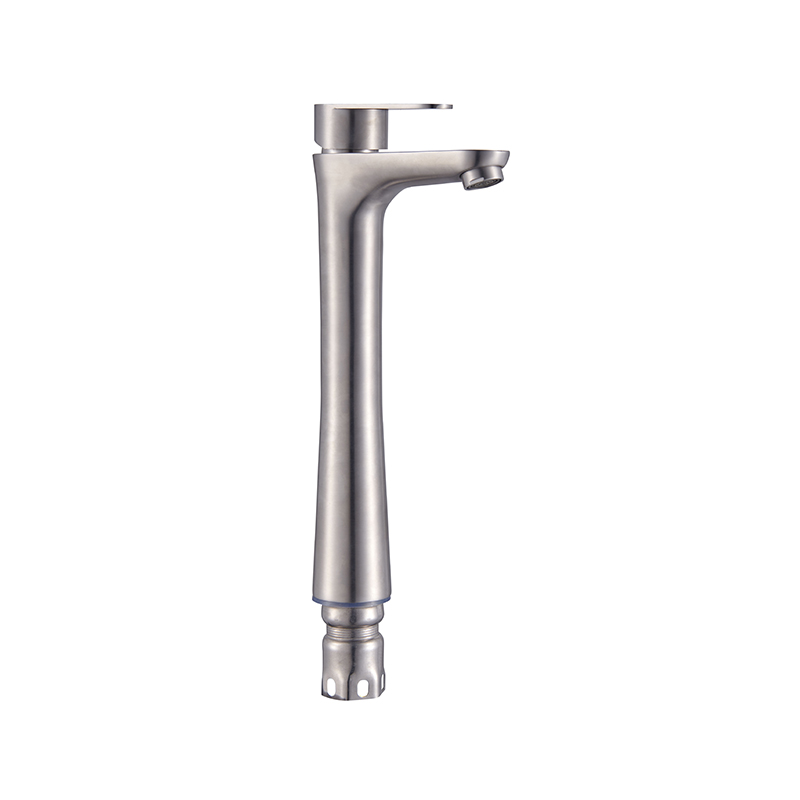
3. Damaged or Missing O-Rings on the Shank
A less obvious leak source is at the base of the faucet, where it mounts to the sink deck. The Single Lever Mixer body has a threaded shank that passes through the sink hole. Water can travel down this shank if the rubber O-ring or conical seal at the top is pinched, dirty, or improperly lubricated during installation.
The Fix: You will likely need to partially unmount the faucet to inspect this seal. Ensure the O-ring is sitting perfectly in its groove. A thin layer of plumber's grease will help it create a watertight seal against the sink surface and prevent it from twisting out of place as you tighten the mounting nut from below.
A leaking Single Lever Mixer immediately after installation is almost always a sign of one of these three fixable errors. By taking your time with the cartridge alignment, avoiding overtightening, and ensuring the base seals are correctly seated, you can enjoy the sleek design and convenient operation your new faucet was meant to provide. If problems persist, double-check that the internal components are free from debris and that all parts are correctly oriented.