Language
 English
 русский
 Español
 عربى
عربى Phone
Phone
 Email
Email
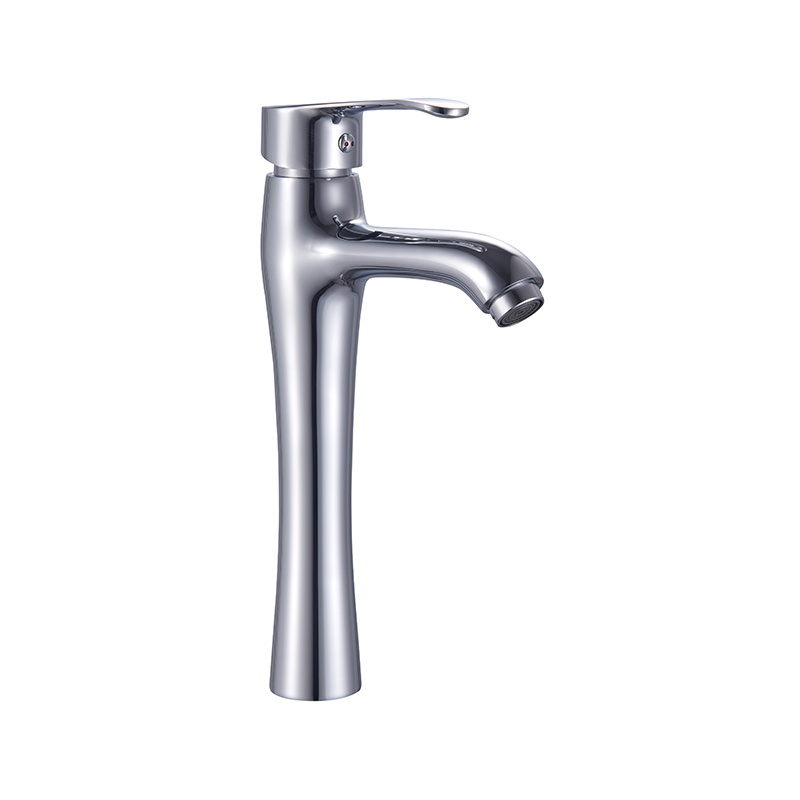
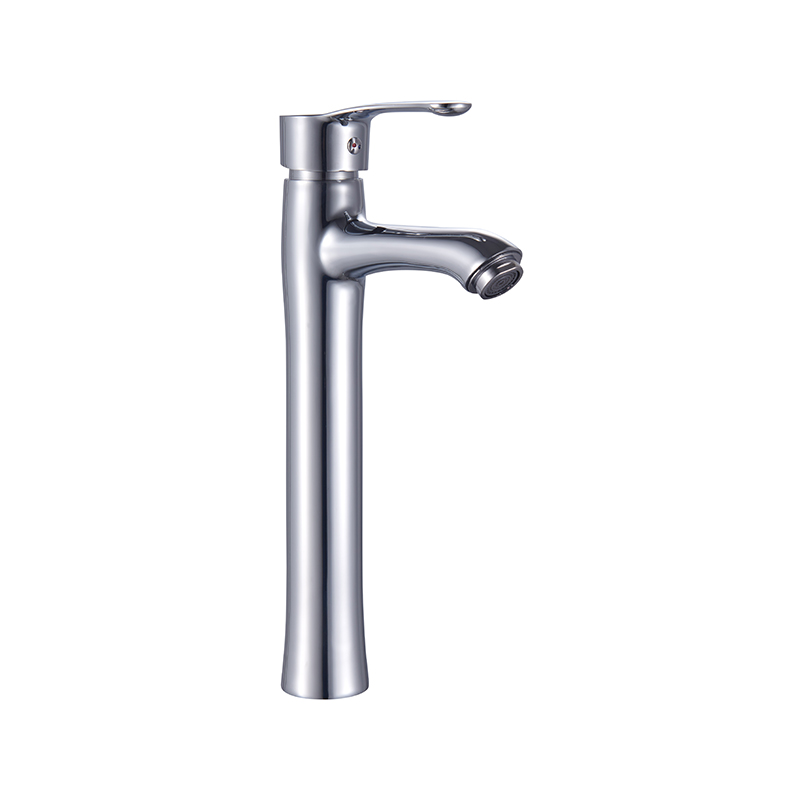
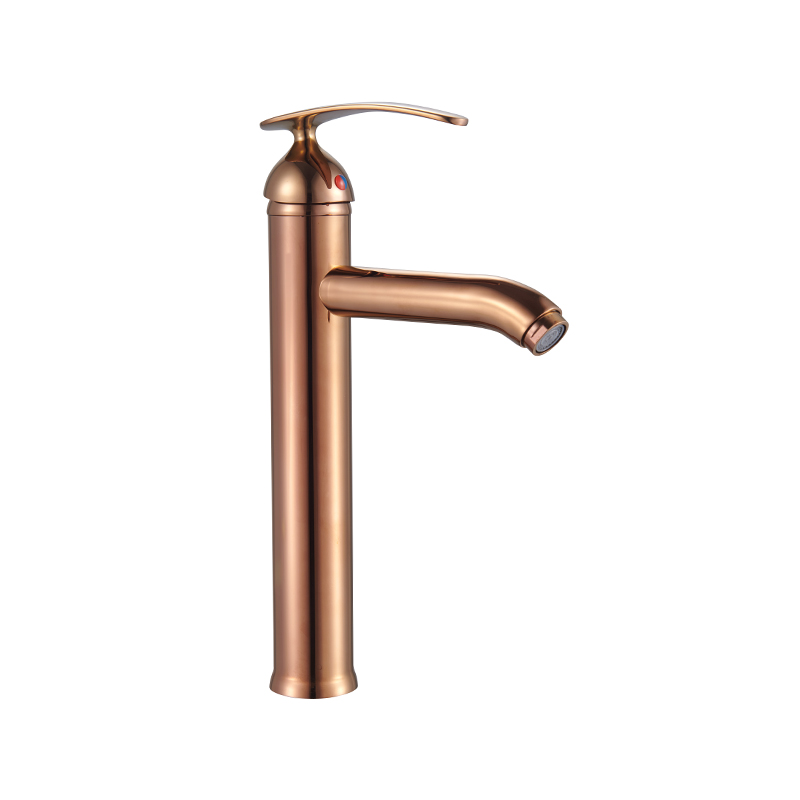
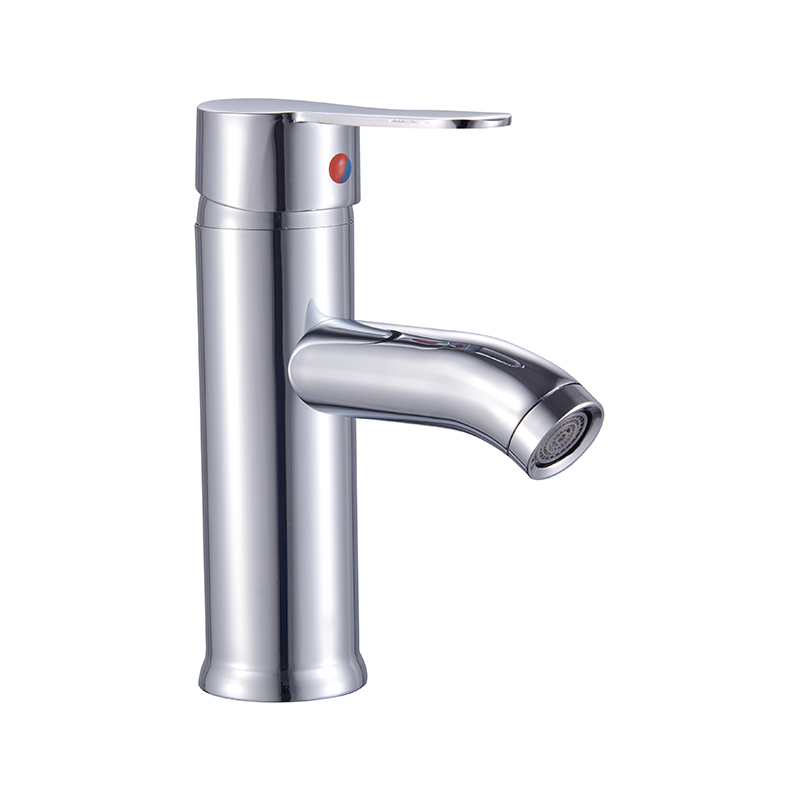
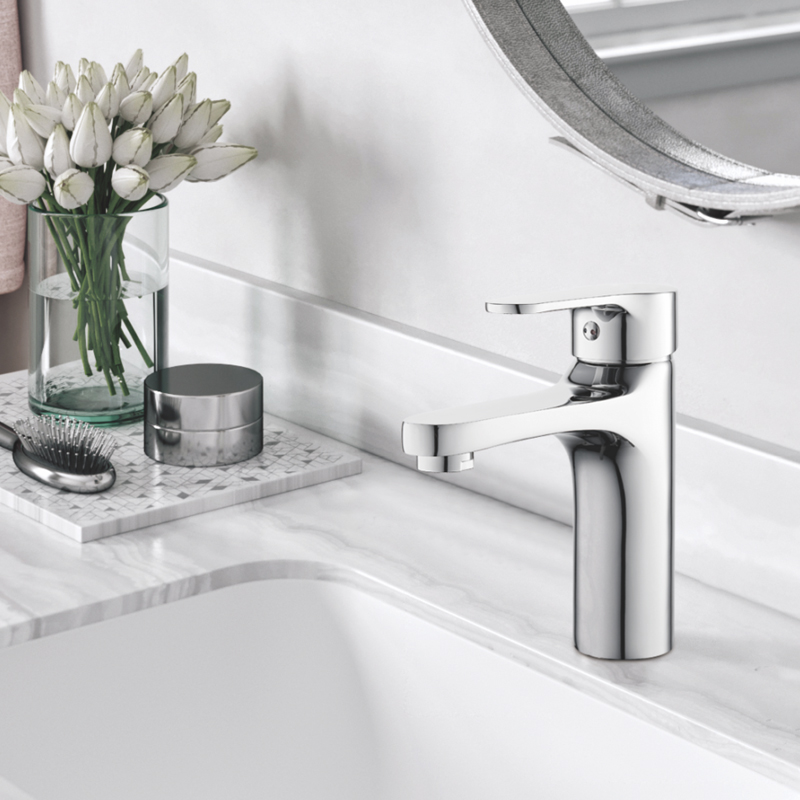
Installing a wall bath shower mixer doesn’t have to be complicated. With the right tools, knowledge, and attention to detail, you can complete the installation yourself and enjoy a more luxurious and efficient showering experience. At Zhejiang Jicheng Technology Co., Ltd., we offer a range of high-quality bath mixers and bath mixer tap accessories designed to enhance your bathroom. Whether you’re renovating your space or simply upgrading your fixtures, we provide durable and stylish solutions that meet your needs.
1. Gather the Necessary Tools and Materials
Before beginning the installation process, make sure you have all the necessary tools and materials at hand. Here’s a basic list of items you will need:
Wall bath shower mixer kit (including mixer, valves, and any accessories)
Pipe fittings (depending on your existing plumbing system)
Adjustable wrench
Screwdriver
Pipe cutter (if necessary)
Teflon tape
Level
Plumber's putty or silicone sealant
It's also important to have your existing plumbing system checked to ensure that it is compatible with the new mixer. If you’re not sure, it’s a good idea to consult a professional plumber to avoid any complications.
2. Turn Off the Water Supply
The initial and more important step in installing a wall bath shower mixer is turning off the water supply. Locate the main water shut-off valve and turn off the water to your bathroom. This will prevent any accidents and ensure that you can work safely.
After turning off the water, open a faucet to drain any remaining water in the pipes. This will help to avoid any unwanted spills during the installation process.
3. Remove the Old Mixer (If Applicable)
If you're replacing an existing bath shower mixer, the next step is to remove the old fixture. Use your adjustable wrench and screwdriver to loosen the nuts that hold the mixer in place. Once removed, take the old mixer off the wall, being careful not to damage the surrounding tiles or wall. If there are any old fittings or connections that need replacing, remove them as well.
Clean the area where the old mixer was installed to remove any debris, old sealant, or dirt. This will ensure a proper seal when you install the new mixer.
4. Install the New Wall Bath Shower Mixer
Now it’s time to install the new wall bath shower mixer. Start by attaching the mixer’s mounting brackets to the wall. Use a level to ensure the mixer is straight and properly aligned. It’s crucial that the mixer is installed at the correct height for ease of use, so double-check the measurements before securing it to the wall.
Next, connect the pipes to the mixer. Apply Teflon tape to the threads of the pipes to prevent leaks, then screw the connections into place. Tighten everything securely with your wrench, but be careful not to over-tighten, as this could damage the pipes or the mixer.
5. Attach the Showerhead and Other Accessories
Once the main mixer is in place, attach any additional accessories like a showerhead, hand shower, or diverter valve. These are key components that enhance the functionality of your wall bath shower mixer.
Showerhead: Choose a showerhead that complements your mixer and fits the space. You can opt for a rainfall showerhead, a handheld showerhead, or a combination of both. Ensure that the shower arm is properly installed at the correct height for comfortable use.
Diverter Valve: If your mixer includes a diverter valve, install it next. The diverter allows you to switch between different water sources, such as the bath faucet or showerhead. Ensure the diverter is securely connected and functioning properly.
Hand Shower: If you're adding a hand shower, attach the flexible hose to the mixer. A hand shower is a great accessory for flexibility and convenience, whether you're washing your hair or cleaning the shower.
6. Test the Installation
Once all the components are installed, turn on the water supply and test the mixer. Check for leaks around the connections and fittings. If you notice any leaks, turn off the water and tighten the connections further. Make sure the mixer is operating smoothly, and test the water flow and temperature settings.
If you’ve installed a thermoreatic mixer, ensure that the temperature settings are accurate and consistent. For digital mixers, check that all electronic components are working as expected.
7. Seal and Finish the Installation
After confirming that everything is working properly, use plumber's putty or silicone sealant around the edges of the mixer to create a watertight seal. This will prevent water from leaking behind the wall and causing damage.
Finally, tidy up the installation area. Clean any excess sealant and ensure that everything is secure. Your wall bath shower mixer should now be fully functional and ready for use.
8. Choosing the Right Bath Mixer Tap Accessories
While the installation of your new wall bath shower mixer is crucial, the right accessories can make all the difference. Accessories such as diverter valves, hand showers, and adjustable showerheads can elevate your bathing experience. These add-ons provide additional convenience and flexibility, allowing you to customize your showering preferences.
Showerheads: Choose one that suits your style and needs—whether you prefer a high-pressure massage or a relaxing rainfall shower.
Hand Showers: A hand shower is perfect for tasks that require precision, such as rinsing hair or cleaning the tub.
Water Filters: If you're concerned about the quality of your water, installing a water filter can help reduce chlorine and impurities, improving your skin and hair health.